Tutorial
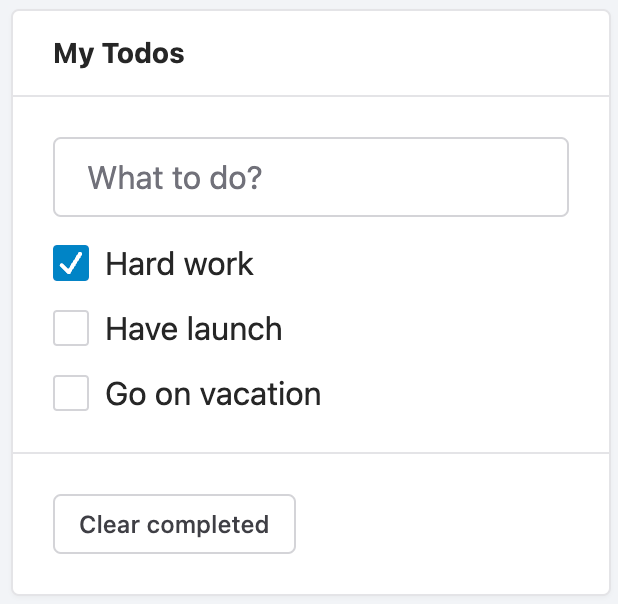
You will build a small My Todos app during this tutorial. The techniques you’ll learn in the tutorial are fundamental to building any Brick Next app, and fully understanding it will give you a deep understanding of Brick Next.
You can see what it will look like when you’re finished here:

Setup for the tutorial
Fork this tutorial project on StackBlitz. StackBlitz lets you do development in your browser and preview how your users will see the app you’ve created.
You can also follow this tutorial using your local development environment. To do this, you need to:
- Install Node.js
- In the StackBlitz tab you opened earlier, on the Project panel, press the download button to download an archive of the files locally
- Unzip the archive, then open a terminal and
cdto the directory you unzipped - Install the dependencies with
npm install - Run
npm startto start a local server and follow the prompts to view the code running in a browser
If you get stuck, don’t let this stop you! Follow along online instead and try a local setup again later.
Starting with a static storyboard
In the starter project, a static storyboard has been created for you:
Here we’re using YAML to define storyboards, since it has a minimal syntax, and is more human-readable at the same time, compared to JSON or others. But keep in mind that storyboards are just tree-like structure data.
It defines a page that is pretty the same as the following HTML:
<sl-card>
  <strong slot="header">My Todos</strong>
  <sl-checkbox>Hard work</sl-checkbox>
  <sl-checkbox>Have launch</sl-checkbox>
  <sl-checkbox>Go on vacation</sl-checkbox>
</sl-card>
sl-card and sl-checkbox are web components from a third-party library Shoelace, which has been integrated to our built-in brick library. You can check more details on their website.
Fetching data
Next step you’ll want to make the todo list from remote instead of static specified.
First assume that you have a RESTful API to fetch todos data, which will return the following JSON:
[
  {
    "title": "Hard work",
    "done": true
  },
  {
    "title": "Have launch",
    "done": false
  },
  {
    "title": "Go on vacation",
    "done": false
  }
]
Then you’ll define a context that will be resolved by your API:
Here you’re using a built-in provider brick basic.http-request which can call arbitrary HTTP API. It accepts a URL as its first argument. For simplicity, a static JSON file is used in this tutorial.
Passing data
You have fetched the todo list from an API, but how to render it on the page?
In order to render a list of todos, you can define a control node of :forEach, set its dataSource to the context you defined before by using an expression, and set its children to a list of bricks that will be rendered for each item in the data source.
You can use ITEM in expressions inside the children, to access the current item of each loop.
Responding to events
Let’s add an input box so that users can add todos as they wish.
Add a brick sl-input, listen on its keydown event, push a todo item into the list when the user pressed Enter.
Note that you should also update the expression of dataSource to enable binding mode with <%= %> instead of <% %>, otherwise the list will not be refreshed when the context gets updated.
Next you’ll add a feature that allows the user to clear completed todos.
But the clear button is not working as you expected, it will only clear Hard work which is initialized with done: true. If the user clicked other todos as done, they will not get cleared when user clicked the clear button.
That’s because the done states of the todos don’t get updated when the user clicked the checkboxes. You need to update the context when the user clicked the checkboxes.
Conditional rendering
Finally, let’s make the clear button only appear when there are completed todos.
To do that, you can add a if condition for the clear button: